
Log homes offer unmatched character and natural beauty, but they demand more attention than conventional stick-framed houses. Wood is a living material, it expands, contracts, absorbs moisture, and attracts organisms looking for food or shelter. Without consistent upkeep, those gorgeous logs can develop rot, insect damage, or structural issues that cost thousands to repair. This guide walks through the critical <a href="https://thesouthshop.com/spring-home-maintenance-tips/”>maintenance tasks every log home owner needs to master, from seasonal inspections to protective treatments that keep your investment sound for decades.
Table of Contents
ToggleKey Takeaways
- Log home maintenance requires specialized attention because logs serve as both structure and exterior finish, making them exposed to UV rays, moisture, temperature swings, and biological threats year-round.
- Perform comprehensive inspections in spring and fall, focusing on end grain checks, chinking and caulking integrity, roof-to-wall junctions, and foundation logs, using low-pressure water (under 500 PSI) for gentle cleaning.
- Water management is critical to log home maintenance—install gutters with 24- to 36-inch roof overhangs, maintain proper grading around the foundation, and ensure interior ventilation to prevent moisture condensation on logs.
- Apply penetrating oil stains every 2 to 7 years depending on exposure, allowing new logs 6 to 12 months of weathering before the first coat and prioritizing end grain and horizontal surfaces for protection.
- Monitor chinking and caulking twice yearly for adhesion failure, cracks, or missing sections, using flexible products specifically formulated for log homes to accommodate seasonal wood movement.
- Address wood-boring insect threats through moisture control, borate treatments on bare wood, removal of attractants like nearby firewood piles, and professional pest control for active infestations to protect structural integrity.
Why Log Homes Require Specialized Maintenance
Unlike frame construction where siding and sheathing create a barrier between lumber and the elements, log walls are both structure and exterior finish. Every log is exposed to UV rays, precipitation, temperature swings, and biological threats.
Wood movement is constant. Logs settle as they dry, shrink in winter, swell in summer. This seasonal shift stresses chinking, caulking, and even fasteners. Ignoring these changes leads to gaps where water and pests enter.
Moisture is the primary enemy. Horizontal log surfaces collect rain and snow. Without proper overhang and drainage, water sits on end grain and checks (natural cracks), wicking deep into fibers. Once moisture penetrates, decay fungi and wood-boring insects follow.
UV degradation breaks down lignin, the natural polymer that binds wood fibers. Unprotected logs turn gray and lose structural integrity at the surface, making them more porous and vulnerable to water absorption.
Log homes built to modern construction standards still require proactive care. The maintenance rhythm differs from conventional homes because the margin for error is narrower. A small leak in vinyl siding might go unnoticed for months: the same leak on a log wall can spawn rot in weeks.
Annual Inspection and Cleaning Checklist
Schedule a full inspection every spring after snowmelt and again in early fall before winter weather arrives. Walk the entire perimeter with a notebook and camera.
Visual inspection priorities:
- End grain and checks: Look for darkening or soft spots indicating moisture intrusion.
- Chinking and caulking: Note any gaps, cracks, or separation from logs.
- Roof-to-wall junctions: Check for blocked gutters, ice dam damage, or standing water.
- Window and door trim: Inspect caulk joints and flashing.
- Foundation logs (sill logs): Probe with an awl or screwdriver for soft wood, a sign of rot.
- Insect activity: Look for sawdust piles (frass), exit holes, or live beetles.
Cleaning process:
- Remove debris from roof valleys, gutters, and areas where logs meet decks or porches.
- Gently brush away cobwebs, dirt, and organic matter with a soft-bristle brush.
- Rinse with a garden hose at low pressure (under 500 PSI). High-pressure washing drives water into checks and can shred soft wood fibers.
- For stubborn mildew or algae, use a log-specific cleaner (typically oxalic acid or sodium percarbonate-based). Follow manufacturer dilution ratios.
- Let logs dry completely, at least 48 hours of sunny weather, before applying any finish.
Never clean or treat logs in direct sun or when rain is forecast within 24 hours. Temperature should be between 50°F and 85°F for optimal results.
Protecting Your Logs from Water Damage
Water management begins with design but continues with maintenance. Even well-built log homes need vigilance.
Roof overhangs should extend at least 24 to 36 inches beyond log walls. If your home has shallow eaves, consider adding extensions or installing drip edge to redirect runoff.
Gutters and downspouts must stay clear. A clogged gutter overflows onto logs, creating chronic moisture exposure. Use gutter guards if you have heavy tree cover, and route downspouts at least 6 feet from the foundation.
Grading and drainage: Soil should slope away from the foundation at a minimum 6 inches over 10 feet. Standing water near sill logs invites rot and termites. French drains or swales may be necessary if natural drainage is poor.
Splash-back prevention: Mulch, gravel, or plantings too close to walls allow rain to splash mud and moisture onto lower logs. Maintain a 12-inch clearance around the perimeter.
Interior moisture sources also matter. Bathrooms, kitchens, and laundry areas need proper ventilation. Without it, interior humidity condenses on cool log surfaces, especially in winter. Install exhaust fans vented to the outside, not just into the attic.
Many log home owners benefit from keeping a detailed maintenance schedule to track seasonal water-related tasks.
Staining and Sealing: Timing and Techniques
Log finishes serve three purposes: block UV rays, repel water, and allow wood to breathe. Not all products do this equally well.
Finish types:
- Film-forming (varnish, polyurethane): Not recommended for exterior logs. They trap moisture and peel, requiring total removal before recoating.
- Penetrating oil stains: Soak into wood fibers, don’t peel, and allow moisture vapor to escape. These are the standard for log exteriors.
- Water-based stains: Lower VOC, faster drying, but generally less durable than oil-based in harsh climates.
Application timing:
New log homes need 6 to 12 months of weathering before the first finish coat. Green (uncured) logs must dry to around 19% moisture content or lower. Use a moisture meter to verify, finishing wet logs traps water inside.
Recoat intervals depend on exposure. South and west walls take the hardest UV and weather beating. Expect to restain every 2 to 4 years on exposed sides, 4 to 7 years on protected elevations.
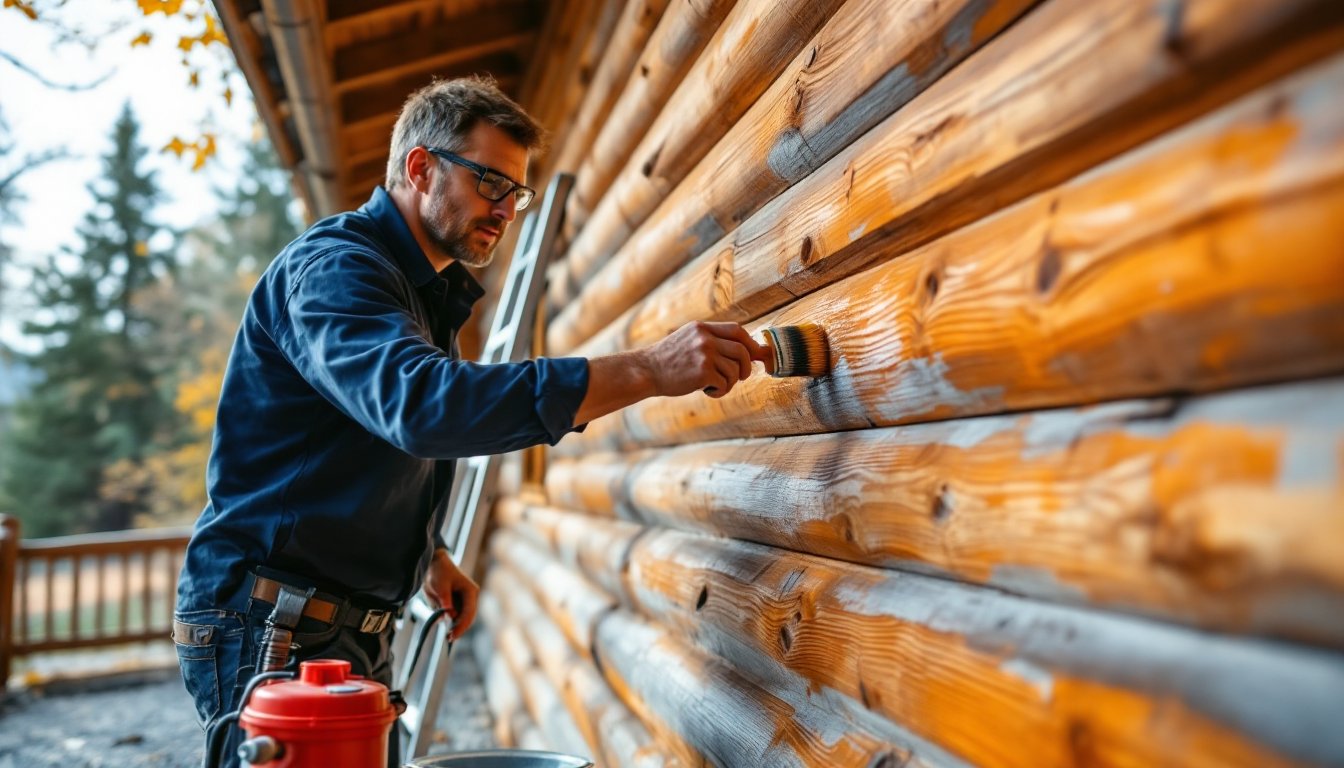
Application steps:
- Clean and let logs dry completely.
- Apply a wood brightener if logs have grayed (restores natural color before staining).
- Use a pump sprayer or airless sprayer for even coverage, then back-brush with a natural bristle brush to work stain into checks and pores.
- Apply two coats on new wood, one coat for maintenance.
- Pay extra attention to end grain, horizontal surfaces, and areas near the ground.
Wear nitrile gloves, safety glasses, and a respirator when spraying oil-based products. Ventilate indoor areas if working on interior logs.
Chinking and Caulking Maintenance
Chinking fills the wide gaps between stacked logs in traditional Appalachian or Scandinavian styles. Caulking seals narrow joints at corners, windows, doors, and between round logs in tighter fits.
Both materials are flexible sealants designed to accommodate wood movement. Modern chinking is typically acrylic-based and stretches up to 500% without tearing.
Inspection:
Check all chinking and caulk joints twice a year. Look for:
- Adhesion failure: Sealant pulling away from the log surface.
- Cracking or tearing: Usually caused by excessive log movement or improper installation.
- Missing sections: Woodpeckers and squirrels sometimes remove chinking to access insects or nesting cavities.
Repair process:
- Remove loose or failed material with a putty knife or oscillating tool. Don’t leave ragged edges.
- Clean the joint with a log wash or mild detergent, then rinse and let dry.
- Insert backer rod (closed-cell foam) into deep gaps to provide a bond surface and control sealant depth. Chinking should be about ½ inch thick for proper elasticity.
- Apply new chinking or caulk with a caulk gun or trowel, smoothing to a slight concave profile.
- Tool the joint while wet to ensure good contact with both log surfaces.
Use products specifically formulated for log homes. Standard exterior caulk lacks the flexibility to handle log movement and will fail within a season.
If you maintain a regular home maintenance routine, chinking repairs become predictable rather than emergency fixes.
Preventing and Treating Insect Infestation
Wood-boring insects are a constant threat to log homes. The most common culprits are carpenter ants, powderpost beetles, and old house borers. Termites are less common in solid log construction but still possible in areas with soil contact.
Prevention:
- Moisture control: Insects prefer wood above 20% moisture content. Keep logs dry and well-ventilated.
- Borate treatments: Apply borate-based insecticides to bare wood before staining. Borates penetrate deeply and remain effective for years, making wood unpalatable to insects.
- Remove attractants: Firewood piles, dead trees, and lumber scraps near the house invite beetles and ants. Store firewood at least 20 feet from walls and off the ground.
- Seal entry points: Caulk around utilities, vents, and any penetrations where insects can enter.
Identifying an infestation:
- Frass (sawdust): Piles of fine powder near holes or cracks.
- Exit holes: Round openings ⅛ to ¼ inch in diameter.
- Live insects: Beetles active in spring and summer: ants trailing along logs.
- Hollow-sounding wood: Tap suspect areas with a screwdriver handle, infested wood sounds dull, not solid.
Treatment:
Active infestations require professional pest control, especially if structural logs are compromised. Licensed exterminators use fumigation, localized injections, or heat treatment depending on severity.
For surface-level powderpost beetles, homeowners can apply residual insecticide sprays into exit holes and on surrounding wood. Always follow label instructions and wear appropriate PPE.
Some log home owners explore alternatives like steel log siding for renovations, which eliminates insect and rot concerns while maintaining the aesthetic.
If you’re new to log home ownership, building a solid foundation of maintenance knowledge early prevents costly surprises.
Conclusion
Log home maintenance isn’t a once-and-done project, it’s an ongoing relationship with natural materials that reward attention. Inspect regularly, address small issues before they escalate, and don’t skimp on quality finishes or sealants. For additional guidance on seasonal tasks and project planning, resources like The Spruce offer comprehensive home care strategies. With consistent care, a well-maintained log home will outlast many conventional structures and continue delivering the warmth and character that drew you to it in the first place.