
A dead Roomba sitting on its dock is one of the most frustrating sights in a smart home. You expect the little robot to be fully charged and ready to clean, but instead, it’s lifeless, no lights, no response, nothing. Whether you’re dealing with an iRobot Roomba not charging issue or wondering “why won’t my Roomba charge,” the good news is that most charging problems are fixable without calling in a tech. The culprit is usually something simple: dirty contacts, a loose connection, or an aging battery. This guide walks through each troubleshooting step in order, from easiest fixes to when it’s time to swap parts or reach out to support.
Table of Contents
ToggleKey Takeaways
- Most Roomba not charging issues stem from dirty contacts, loose connections, or aging batteries—all fixable without calling a technician.
- Clean the charging contacts on both the Roomba and dock with a dry microfiber cloth or rubbing alcohol swab monthly to prevent electrical blockages.
- If your Roomba is two to three years old and won’t charge, the battery has likely reached its lifespan; test it visually for swelling or leaks before replacing.
- Perform a soft reset by holding the CLEAN button for 10–20 seconds to resolve software glitches that may prevent your Roomba from charging.
- Test your Roomba on a different dock or swap components to isolate whether the problem lies with the robot, dock, or power adapter before replacing parts.
- Contact iRobot support if charging fails after cleaning, resetting, and replacing the battery, as the charging circuit may require professional repair.
Check the Power Source and Charging Dock Connection
Start with the basics. If your Roomba won’t charge, confirm that the charging dock is getting power in the first place. Unplug the dock’s power adapter from the wall outlet, wait five seconds, and plug it back in. Look for a small green LED on the dock itself, this indicates live power.
If there’s no light, try a different outlet or test the current outlet with another device (a phone charger works fine). Occasionally, a tripped GFCO outlet or a dead power strip is the silent killer.
Next, inspect the power cable and adapter for visible damage: frayed wires, bent prongs, or kinks near the plug. Pets and vacuum wheels can snag cables over time. If the adapter brick feels unusually hot to the touch, it may be failing internally.
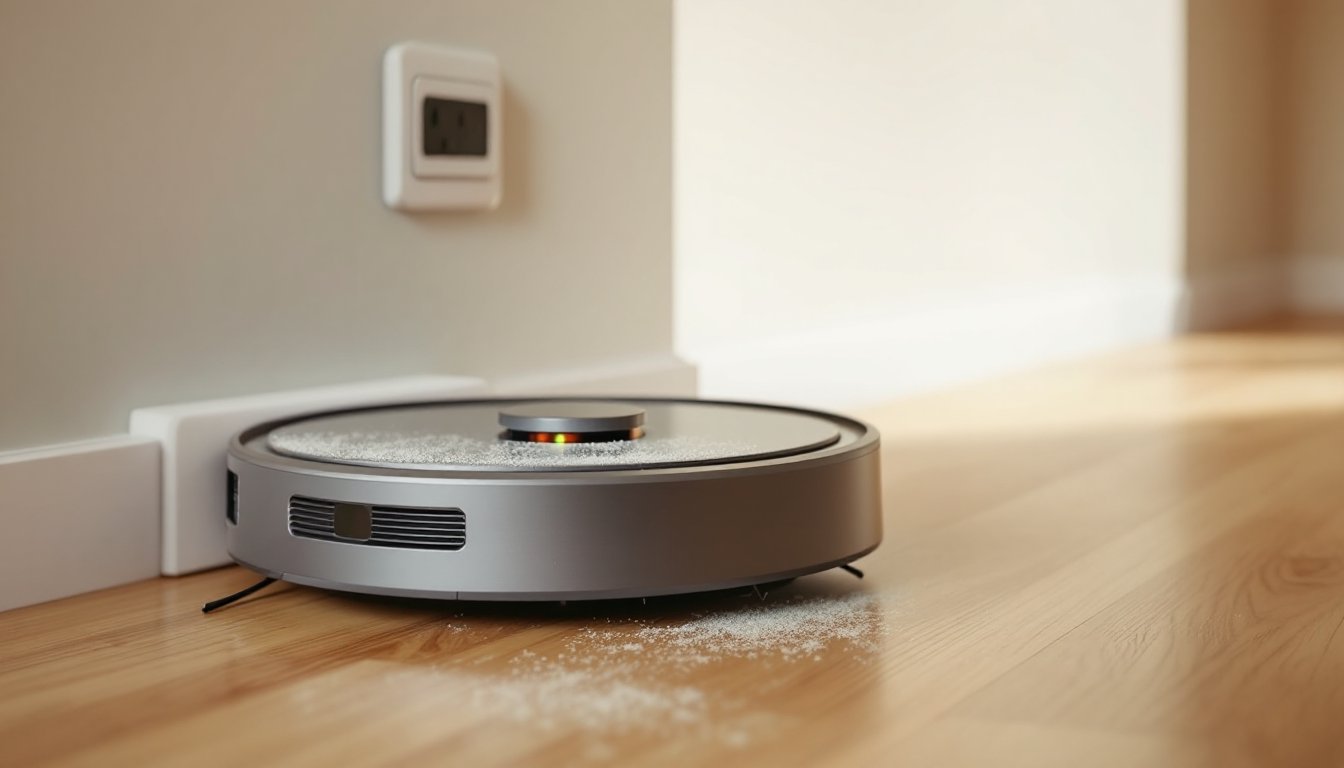
Finally, ensure the Roomba is seated properly on the dock. The charging contacts on the robot’s underside must align with the metal plates on the dock. If the Roomba is crooked or tilted, it won’t make a solid connection. Press down gently to confirm it clicks into place. The charging indicator light on the Roomba should illuminate, usually a pulsing amber or solid green depending on charge level and model.
Clean the Charging Contacts on Your Roomba and Dock
Dirty or corroded charging contacts are the number-one reason for intermittent or failed charging. Dust, pet hair, and oxidation build up on the metal plates over time, blocking electrical flow.
Flip your Roomba over and locate the charging contacts, two small metal plates or pins on the underside, usually near the front edge. Wipe them down with a clean, dry microfiber cloth. For stubborn grime or corrosion, use a cotton swab lightly dampened with rubbing alcohol (isopropyl, 70% or higher). Let the contacts air-dry completely before placing the Roomba back on the dock.
Don’t skip the dock side. The charging dock has matching metal plates or spring-loaded pins. Wipe these with the same method. If you see green or white corrosion, gently scrub with the alcohol swab until the metal shines. Corrosion is common in humid climates or homes with hard water residue in the air.
Many users dealing with “my Roomba won’t charge” issues find that a quick contact cleaning solves the problem instantly. Make this part of your monthly maintenance routine, it takes less than two minutes and prevents bigger headaches down the road. Modern smart home devices like Roombas rely on clean electrical connections, and even a thin film of dust can interrupt the charging cycle.
Inspect the Battery for Age and Damage
Roomba batteries are lithium-ion cells with a finite lifespan, typically 400 to 500 charge cycles or about two to three years of regular use. If your Roomba is older and refuses to charge, the battery may have reached the end of its service life.
Remove the battery (consult your model’s manual, but most require removing a side panel or bottom cover secured by Phillips-head screws). Look for obvious signs of damage: swelling, leaking, or a bloated case. A swollen battery is a fire hazard and should be disposed of immediately at a battery recycling center, do not attempt to charge it.
Even if the battery looks fine externally, it can still fail internally. If your Roomba charges for a few seconds then stops, or the charge light blinks red, the battery cells may no longer hold voltage. Testing with a multimeter (set to DC voltage) can confirm this, but most homeowners don’t have one handy.
iRobot sells genuine replacement batteries, and third-party options are available at lower cost. Stick with reputable brands that match your Roomba’s voltage and capacity specs. Cheap knock-offs often lack proper thermal protection and can damage the charging circuit. When installing a new battery, ensure the connector clicks firmly into place and the battery sits flush in its compartment. A loose fit can prevent charging even with a brand-new cell.
Reset Your Roomba to Resolve Software Glitches
Sometimes the charging issue isn’t hardware, it’s a software hiccup. Roombas run on embedded firmware that can occasionally freeze or misreport battery status. A factory reset or reboot often clears these glitches.
For most Roomba models (e.g., 600, 700, 800, 900 series), perform a soft reset by pressing and holding the CLEAN button for 10 to 20 seconds until you hear a tone or see the lights cycle. This reboots the robot without erasing your cleaning schedules.
For i-series and s-series models with Wi-Fi, a factory reset may be needed if the soft reset doesn’t work. Open the iRobot Home app, navigate to your Roomba’s settings, and select “Remove Robot” or “Factory Reset.” This wipes all saved maps and settings, so use it as a last resort. After the reset, place the Roomba on the dock and let it sit for at least three hours to recalibrate the battery sensor.
If your Roomba still won’t charge after a reset, the issue is likely hardware-related, move on to testing the dock and cable, or inspecting the battery more closely. Many smart home troubleshooting guides emphasize resets as a first-line fix for connectivity and charging issues, and Roombas are no exception.
Test with a Different Charging Dock or Cable
If you’ve cleaned the contacts, checked the power source, and reset the robot, it’s time to isolate whether the problem is with the Roomba or the dock itself. The easiest way to do this is by swapping components.
If you own multiple Roombas or know someone who does, try charging your Roomba on their dock. If it charges successfully, your original dock is faulty. If it still won’t charge, the issue is with the Roomba, likely the battery or internal charging circuit.
You can also test the dock’s power adapter independently. Use a multimeter to check the output voltage (should match the rating printed on the adapter, typically 20V DC). No voltage output means a dead adapter. Replacement adapters are available from iRobot or third-party sellers: just make sure the voltage, amperage, and connector type match your model.
In some cases, the dock’s metal charging pins become worn or lose spring tension over time. If the pins don’t extend far enough to make contact with the Roomba, charging won’t happen. Carefully inspect the pins, if they’re stuck, try gently pulling them out with needle-nose pliers. If they’re broken or missing, the dock needs replacing.
Replacement docks and adapters are sold separately and are often more affordable than a new Roomba. Product reviews for home appliances can help you identify reliable third-party options if genuine iRobot parts are out of stock or overpriced.
When to Replace Your Roomba Battery or Contact Support
If you’ve exhausted all troubleshooting steps and your Roomba still won’t charge, it’s time to either replace the battery or escalate to iRobot support.
Replace the battery if:
- Your Roomba is two to three years old and shows declining runtime even before the charging issue.
- The battery is visibly swollen, leaking, or fails a voltage test.
- The Roomba charges briefly then stops, or the charge light blinks red/amber repeatedly.
Genuine iRobot batteries cost around $50 to $80 depending on the model. Third-party batteries run $25 to $50 but vary in quality. Check reviews and verify the seller’s return policy before buying. Battery replacement is straightforward on most models, no soldering required, just a screwdriver and a connector clip.
Contact iRobot support if:
- Your Roomba is still under warranty (typically one year from purchase).
- You’ve replaced the battery and cleaned all contacts, but the Roomba won’t charge on multiple docks.
- The charging circuit inside the Roomba may be damaged, this requires professional repair or replacement.
iRobot’s customer service can run remote diagnostics if your model has Wi-Fi, and they may offer a replacement or repair discount even outside of warranty. Full-length product reviews and troubleshooting tips often highlight common failure points for specific Roomba models, which can inform your decision to repair or replace.
Before buying a new Roomba, try sourcing a used or refurbished battery and dock as a cost-effective test. If those work, you’ve saved a few hundred dollars. If not, you’ll know the mainboard is the culprit, and it’s time for an upgrade.
Conclusion
Most Roomba charging issues boil down to a handful of fixable problems: dirty contacts, loose connections, aging batteries, or minor software glitches. Start with the simplest solutions, clean the contacts, check the power source, and reset the robot, before moving on to part replacements. In many cases, a two-minute cleaning or a $40 battery swap is all it takes to get your robot vacuum back in action. If the problem persists after testing docks, cables, and batteries, iRobot support can help diagnose deeper hardware faults. Keep your Roomba’s contacts clean and replace the battery every two to three years to avoid future headaches.