
Motion detection is the backbone of any Blink security camera setup, when it stops working, you’re left with a glorified decoration on your wall. If your Blink camera isn’t catching movement in your driveway, porch, or hallway, the fix is usually simpler than you think. Most homeowners can resolve detection issues in under 15 minutes without calling tech support or replacing hardware. This guide walks through six proven troubleshooting steps to get your camera back on guard duty, covering everything from settings tweaks to placement adjustments that actually work.
Table of Contents
ToggleKey Takeaways
- Start with settings: verify motion detection is enabled, check Activity Zones and Clip Recording, and adjust the Retrigger Time to minimum for better responsiveness when Blink camera not detecting motion.
- Mount your Blink camera 7–10 feet high angled downward and keep it at least 6 inches clear of walls; avoid glass, heat vents, and direct sunlight since PIR sensors detect heat changes, not just movement.
- Update both the Blink app and camera firmware, then restart your Sync Module by unplugging it for 10 seconds to clear cached settings that may interfere with motion detection.
- Adjust motion sensitivity seasonally—increase to 7–8 in summer when body heat contrasts less, and reduce to 4–5 in winter; test incrementally by walking through the field of view.
- Replace batteries with fresh lithium AA batteries when below 30% charge and ensure Wi-Fi signal shows three or more bars; if weak, relocate your Sync Module closer to the camera or use a 2.4 GHz range extender.
- If all troubleshooting steps fail, perform a factory reset to clear corrupted settings, and contact Blink support if motion detection still doesn’t work—your camera may have a hardware fault covered under warranty.
Check Your Motion Detection Settings
Before you start moving hardware around, verify that motion detection is actually enabled. It’s easy to accidentally toggle off during app navigation or after a firmware update.
Open the Blink app and tap the camera that’s giving you trouble. Look for the Motion Detection toggle, it should be blue or green (depending on app version). If it’s grayed out, tap to enable it. While you’re in there, check the Activity Zones setting. This feature lets you define specific areas the camera monitors, which is useful for ignoring street traffic or swaying trees. If your zones exclude the area where motion is happening, the camera won’t trigger.
Next, review your Clip Recording settings. Some users disable recording to save cloud storage without realizing it also stops motion alerts. Make sure Record Motion is turned on. If you’re using a scheduling feature to limit when the camera is active, confirm the current time falls within an armed period.
One often-overlooked setting: Retrigger Time. This determines how long the camera waits between detecting motion events. The default is usually 10–30 seconds. If someone walks through your camera’s view, triggers it, then returns 15 seconds later, the camera might still be in its cooldown period and won’t record the second pass. For many smart home security setups, adjusting this value to the minimum (often 10 seconds) improves responsiveness without overwhelming your clip library.
Verify Camera Placement and Field of View
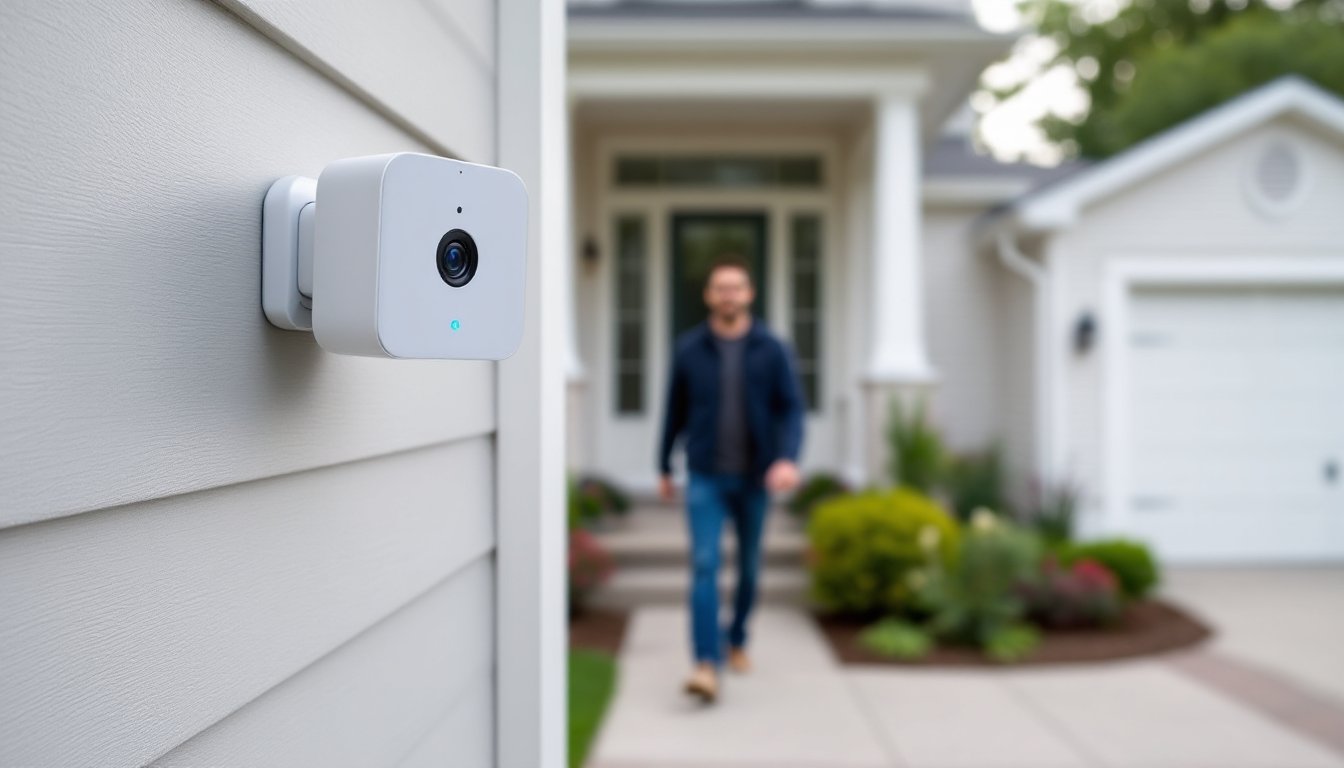
Blink cameras use passive infrared (PIR) sensors to detect motion, which means they’re looking for heat changes, not just movement. This matters because PIR sensors work best when motion crosses the field of view horizontally, not when someone walks straight toward the camera.
Mount height makes a difference. The sweet spot is typically 7 to 10 feet off the ground, angled slightly downward. Too low, and you’ll catch every shadow and pet: too high, and heat signatures become too faint to trigger reliably. If your camera is sitting on a shelf or attached to siding at eye level, that could explain why you’re getting inconsistent detection.
Check what’s in the camera’s field of view. Glass windows, heat vents, and direct sunlight are PIR killers. Infrared sensors can’t detect motion through glass, if your camera is inside looking out a window, motion detection won’t work at all. Heat vents, radiators, and AC units create temperature fluctuations that either cause false triggers or confuse the sensor into ignoring actual movement. Similarly, direct sunlight or reflections off metal siding can wash out the infrared signal.
Blink cameras have a detection range of about 20 feet, with the best performance in the first 10 feet. If your driveway or walkway extends beyond that, consider adding a second camera or repositioning the existing one closer to the action. And don’t forget: if you mounted the camera near a wall or overhang, the PIR sensor’s coverage might be partially blocked. Leave at least 6 inches of clearance on all sides for optimal detection.
Update Firmware and the Blink App
Outdated firmware is a common culprit when motion detection suddenly stops working or becomes unreliable. Blink pushes updates periodically to fix bugs, improve sensor accuracy, and add features, but the cameras don’t always auto-update immediately.
To check for firmware updates, open the Blink app, tap the Settings icon (gear symbol), then select Device Settings and choose your camera. Scroll down to Device Information and look for the firmware version. Compare it to the latest version listed on Blink’s support site (a quick web search for “Blink firmware version history” will do). If you’re behind, the app should prompt you to update. If not, try removing and re-adding the camera to force a sync.
App updates are just as important. Head to the App Store (iOS) or Google Play (Android) and search for “Blink Home Monitor.” If an update is available, install it before troubleshooting further. Older app versions sometimes have sync issues that prevent settings changes from reaching the camera, so you might think motion detection is on when the camera hasn’t received the command.
After updating both, restart your Sync Module (the small hub that connects your cameras to Wi-Fi). Unplug it for 10 seconds, then plug it back in. Wait for the blue LED to turn solid, indicating it’s reconnected to your network. This clears any cached settings that might be interfering with motion detection. Many issues tied to home security tech resolve themselves after a clean reboot and firmware refresh.
Adjust Motion Sensitivity Levels
If motion detection is enabled but your Blink camera still isn’t picking up movement, or if it’s triggering too often, sensitivity adjustment is your next move. Blink cameras offer a sensitivity slider ranging from 1 (low) to 9 (high), and finding the right setting depends on your environment.
Start by opening the Blink app, selecting your camera, and navigating to Motion Settings or Sensitivity. If the slider is set below 5, try bumping it up to 6 or 7. Lower sensitivity reduces false alerts from things like bugs, rain, or swaying branches, but it also makes the camera less responsive to slower-moving people or pets. If you’re missing legitimate motion events, increase sensitivity incrementally and test after each adjustment.
On the flip side, if your camera triggers constantly for no apparent reason, dial sensitivity down to 4 or 5. High settings can cause the PIR sensor to react to minor heat changes, like a car passing on a distant street or the sun warming up your siding.
Here’s a pro tip: sensitivity needs vary by season. In summer, higher ambient temperatures reduce the contrast between a person’s body heat and the background, so you might need to crank sensitivity up to 7 or 8. In winter, cold backgrounds make body heat stand out more, and a setting of 4 or 5 often suffices.
Test your adjustments by walking through the camera’s field of view at different speeds and angles. Give it 30 seconds between passes (remember that retrigger cooldown). If the camera still isn’t catching motion at sensitivity level 8 or 9, the issue likely isn’t the sensor, move on to checking power and connectivity.
Test Battery Power and Wi-Fi Connection
A weak battery or spotty Wi-Fi connection will cripple motion detection, even if all your settings are perfect. Blink cameras rely on AA lithium batteries (two per camera for most models), and performance degrades noticeably below 20% charge.
Check battery status in the Blink app under Device Settings. If you’re below 30%, swap in fresh lithium AA batteries (not alkaline, Blink specifically recommends lithium for temperature tolerance and longevity). Alkaline batteries drain faster in cold weather and don’t deliver consistent voltage, which can cause intermittent detection failures. You’ll get about two years of battery life under normal use, but high-traffic areas or frequent Live View sessions drain power faster.
Next, confirm your Wi-Fi signal strength. In the app, look for the Wi-Fi icon next to your camera’s name. If it shows fewer than three bars, the camera might be losing packets or struggling to upload clips, which can delay or prevent motion alerts from reaching your phone. The Sync Module should be within 100 feet of your camera and within range of your router.
If signal strength is weak, try moving the Sync Module closer to the camera or relocating your router. Walls, metal siding, and large appliances all degrade Wi-Fi performance. For tricky installations, a Wi-Fi range extender (often $20–$40) can bridge the gap. Make sure it operates on the 2.4 GHz band, Blink cameras don’t support 5 GHz.
Finally, check for network congestion. If your home network is juggling multiple smart home devices, streaming video, and video calls, bandwidth bottlenecks can delay motion detection. Try rebooting your router (unplug for 30 seconds, plug back in) to clear the slate. If problems persist, consider upgrading to a dual-band router or creating a dedicated 2.4 GHz network for IoT devices.
Reset Your Blink Camera to Factory Settings
If you’ve checked settings, placement, firmware, sensitivity, and power without success, a factory reset often clears stubborn software glitches or corrupted settings that survive app-level troubleshooting.
Here’s how to reset most Blink camera models:
- Remove the camera from the Blink app. Open the app, select the camera, go to Settings, scroll down, and choose Delete Camera. Confirm the deletion.
- Locate the reset button. For Blink Outdoor, Indoor, and Mini cameras, you’ll find a small reset button on the bottom or back of the unit (often near the battery compartment or USB port).
- Press and hold the reset button for 10–15 seconds. You’ll see the camera’s LED flash red, then blue. Release the button.
- Re-add the camera in the app. Tap the + icon, select Add Camera, and follow the on-screen pairing instructions. The camera will reconnect to your Sync Module and pull fresh settings from the cloud.
A factory reset wipes all custom settings, activity zones, sensitivity levels, scheduling, so you’ll need to reconfigure those after pairing. This is actually helpful if an old setting got corrupted and was causing detection issues.
Safety note: Before resetting, make sure your Sync Module is online and functioning. If the Sync Module is offline or unreachable, the camera won’t be able to rejoin your system after the reset, and you’ll be stuck troubleshooting two devices instead of one.
If motion detection still doesn’t work after a factory reset, the camera itself may have a hardware fault (failed PIR sensor or a bad circuit board). Blink cameras come with a one-year limited warranty, so contact Blink support if your unit is still under coverage. Have your purchase receipt and serial number handy, they’ll likely run through a checklist, but a reset proves you’ve already done the legwork.
Conclusion
Most motion detection issues boil down to settings, placement, or power, not defective hardware. Start with the quick wins: verify motion detection is enabled, check battery and Wi-Fi strength, and adjust sensitivity for your environment. If those don’t solve it, update firmware and consider a factory reset. In the rare case nothing works, you’re likely looking at a hardware failure covered under warranty. Either way, you’ll have your Blink camera back on duty faster than scheduling a service call.