
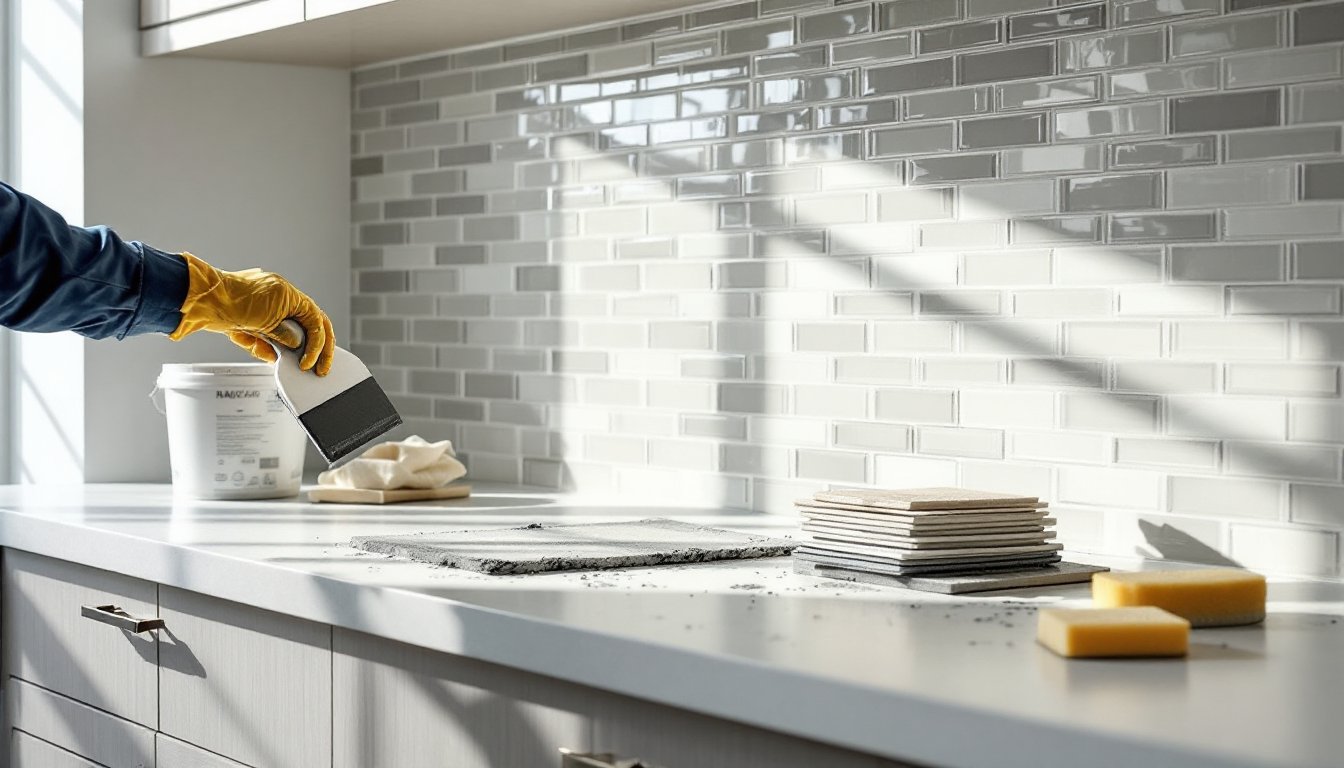
A kitchen backsplash isn’t just about protecting drywall from grease and water, it’s one of the most visible design elements in the room. Mosaic tile backsplashes deliver both form and function, offering endless pattern possibilities in a compact format that’s surprisingly beginner-friendly. Whether you’re working with glass, ceramic, or natural stone, mosaic tiles come pre-mounted on mesh sheets that simplify layout and speed up installation. For DIYers ready to tackle a weekend project with professional-looking results, a mosaic backsplash kitchen upgrade is hard to beat.
Table of Contents
ToggleKey Takeaways
- A mosaic tile backsplash kitchen combines design flexibility with practical durability, hiding minor wall imperfections better than larger tiles while protecting against grease, water, and heat.
- Mosaic tiles come pre-mounted on mesh sheets that simplify installation and maintain consistent spacing, making them ideal for DIY projects with professional-looking results.
- Glass, ceramic, and stone mosaics each offer distinct advantages: glass reflects light and won’t stain, ceramic is affordable and low-maintenance, while stone adds natural texture but requires annual sealing.
- Proper surface prep, consistent grout lines, and careful layout are essential for a successful installation; use a batten board if your counter isn’t level and allow 24-48 hours for thin-set curing before grouting.
- Daily maintenance involves wiping with a damp cloth and mild soap, while annual grout and stone sealing prevents staining and keeps your mosaic backsplash looking fresh long-term.
Why Choose Mosaic Tile for Your Kitchen Backsplash
Mosaic tiles bring several practical advantages over larger-format tiles. Their small size, typically ½” to 2″ per tile, means they conform to slight wall irregularities without lippage (uneven edges). The mesh backing on most sheets holds tiles in consistent spacing, so grout lines stay uniform even for first-time installers.
Durability is another win. Glazed ceramic and glass mosaics resist stains, heat, and moisture better than painted drywall or laminate panels. Stone mosaics like marble or travertine add natural texture but require sealing to prevent staining from cooking oils.
Design flexibility is where mosaics shine. You can mix colors, create gradients, or insert accent strips without custom cutting every piece. Sheets are easy to trim with a wet saw or tile nippers, and their grid layout makes it simple to align patterns around outlets and windows.
Finally, mosaic tile kitchen backsplashes hide minor layout mistakes. If your counter isn’t perfectly level or your cabinets have slight gaps, the busy pattern camouflages inconsistencies that would be glaring with 12″ subway tiles.
Popular Mosaic Tile Patterns and Styles for Kitchens
Mosaic backsplash kitchen designs span from classic subway grids to intricate herringbone and hexagon layouts. Subway mosaics (rectangular tiles in a brick pattern) offer a timeless look that pairs well with both modern and traditional kitchens. Hexagon mosaics (penny rounds or larger hex shapes) add geometric interest without overwhelming the space.
Linear mosaics, long, thin strips of glass or metal, create a sleek, contemporary feel and work especially well in modern or industrial kitchens. Mixed-material sheets combine glass, stone, and metal in a single mesh-backed sheet, delivering a custom look without custom pricing.
For a more artisan touch, handmade mosaic designs incorporate vintage patterns, irregular shapes, or hand-glazed finishes that bring character to farmhouse or eclectic kitchens. These tend to cost more per square foot but offer one-of-a-kind visual impact.
Color trends shift, but neutral palettes (white, gray, beige) remain versatile and boost resale value. Bold accent colors, navy, emerald, or charcoal, work well as single-row borders or behind open shelving where they won’t dominate the entire wall.
Glass vs. Ceramic vs. Stone Mosaic Tiles
Glass mosaics reflect light, making small kitchens feel brighter. They’re non-porous, so they won’t stain, but they do show water spots and fingerprints more readily than matte finishes. Use an unsanded grout (not sanded) to avoid scratching the glass surface during installation.
Ceramic mosaics are the workhorse option: affordable, durable, and available in endless colors and finishes. Glazed ceramic resists moisture and stains with minimal maintenance. Unglazed ceramic (like terracotta) needs sealing and isn’t ideal near the sink or stove.
Stone mosaics, marble, travertine, slate, add natural texture and earthy tones. They’re porous, so apply a penetrating sealer before grouting and reseal annually. Stone is softer than ceramic or glass, making it easier to cut but more prone to chipping during handling.
Selecting the Right Mosaic Tile for Your Kitchen Design
Start by measuring your backsplash area: height from countertop to cabinets (typically 18″ to 24″) and horizontal length. Add 10% extra for cuts, breakage, and future repairs. Mosaic sheets usually measure 12″×12″ or 12″×18″, so calculate square footage and round up to the nearest full sheet.
Consider your grout joint width. Smaller tiles mean more grout lines, which can trap grime if you choose a light grout color. Mid-tone grays or taupes hide stains better than pure white. Match grout to tile for a seamless look, or contrast for a graphic effect.
Finish matters. Glossy tiles brighten dark kitchens but show every smudge. Matte or honed finishes hide fingerprints and water spots, making them practical near the sink. Textured stone mosaics add depth but are harder to clean, reserve them for low-splash zones away from the cooktop.
Check slip resistance ratings if you’re using the same tile on floors, but backsplashes don’t require slip ratings since they’re vertical. For wet areas, stick with glazed ceramic or glass.
Many kitchen design resources recommend ordering samples before committing to full boxes. Tape samples to the wall and view them under your kitchen’s natural and artificial lighting at different times of day. Colors and finishes can shift dramatically under warm LED bulbs versus daylight.
How to Install a Mosaic Tile Backsplash: Step-by-Step Guide
Tools and Materials:
- Mosaic tile sheets (with 10% overage)
- Thin-set mortar (white for glass tiles, gray for ceramic or stone)
- Notched trowel (3/16″ V-notch or 1/4″ square-notch)
- Grout (unsanded for glass, sanded for joints wider than 1/8″)
- Grout float and sponge
- Wet saw or tile nippers
- Level (4-foot or laser)
- Tile spacers (if sheets lack consistent spacing)
- Painter’s tape
- Safety glasses, dust mask, gloves
Step 1: Prep the Surface
Remove outlet covers and switch plates. Clean the wall thoroughly, grease, dust, or loose paint will prevent adhesion. If installing over fresh drywall, prime it first. Painted drywall needs light sanding (120-grit) to rough up the gloss. Wipe down with a damp cloth and let dry.
Step 2: Plan Your Layout
Find the midpoint of your backsplash horizontally and snap a vertical chalk line. Dry-lay a row of sheets along the countertop to see where cuts will fall at the edges. Adjust your starting point so you don’t end up with tiny slivers at corners, aim for at least half a tile width on end pieces.
Mark horizontal lines using a level. Most installers start at the bottom and work up, but if your counter isn’t level, start with a batten board (a straight 1×2 screwed temporarily to the wall) one tile-height above the counter to keep the first row straight.
Step 3: Mix and Apply Thin-Set
Mix thin-set to a peanut-butter consistency. Let it slake (rest) for 10 minutes, then remix. Apply a thin layer to the wall with the flat side of the trowel, then comb through it with the notched side at a 45-degree angle. Work in sections no larger than 3 feet square so the mortar doesn’t skin over before you place tiles.
Step 4: Set the Mosaic Sheets
Press each sheet firmly into the thin-set, using a slight twisting motion. Don’t slide it around or mortar will ooze up through the joints. Use spacers between sheets to maintain consistent grout lines. Check level and plumb frequently, mosaic tile kitchen backsplash mistakes are hard to fix once the mortar sets.
If individual tiles shift, carefully peel back the sheet, adjust, and re-press. For outlets, cut sheets with a utility knife on the back (mesh side) and nibble out tiles as needed with tile nippers.
Step 5: Cut Edge and Corner Tiles
Use a wet saw for straight cuts. Score and snap works for ceramic, but glass and stone are safer with a wet saw to avoid chipping. Wear safety glasses and a dust mask, tile dust contains silica.
Step 6: Let Mortar Cure
Allow at least 24 hours (48 in humid climates) before grouting. Thin-set needs to cure fully or it will pull moisture from grout and cause cracking.
Step 7: Grout the Joints
Mix grout to a thick paste. Use a rubber grout float held at a 45-degree angle to pack grout into joints, working diagonally across the tile surface. Scrape off excess with the float. Wait 15–20 minutes until grout begins to firm, then wipe with a damp (not wet) sponge in circular motions. Rinse the sponge frequently.
Buff off any haze with a dry microfiber cloth after 1–2 hours. Let grout cure for 72 hours before sealing (if using sanded grout or porous tile). Apply grout sealer with a foam brush, wiping off excess after 5–10 minutes.
Reinstall outlet covers and caulk the joint between backsplash and countertop with clear or color-matched silicone caulk (not grout, it will crack at that moving joint).
Cleaning and Maintaining Your Mosaic Tile Backsplash
Daily maintenance is simple: wipe down with a damp microfiber cloth or sponge and mild dish soap. Avoid abrasive cleaners or scouring pads on glass or polished stone, they’ll dull the finish. For ceramic, a non-abrasive all-purpose cleaner works fine.
Grease buildup near the stove responds well to a 1:1 mix of white vinegar and water. Spray, let sit for 5 minutes, then wipe clean. For stubborn spots, make a paste of baking soda and water, apply with a soft cloth, and rinse.
Grout care matters more than tile care. Grout is porous and stains easily. Seal sanded grout annually with a penetrating grout sealer. Unsanded grout (used with glass mosaics) is less porous but still benefits from sealing. If grout discolors, use a grout brush and oxygen bleach cleaner (not chlorine bleach, which can damage colored grout).
For stone mosaics, reseal annually with a stone-specific penetrating sealer. Test any cleaner on an inconspicuous spot first, acidic cleaners (vinegar, lemon, commercial lime removers) will etch marble and travertine.
Inspect caulk joints where the backsplash meets the counter or wall edges. Replace cracked or discolored caulk promptly to prevent water intrusion behind the tile. Many kitchen backsplash galleries showcase long-term installations that look fresh because owners stayed on top of grout and caulk maintenance.
Conclusion
A mosaic tile kitchen backsplash combines visual interest, practical protection, and DIY-friendly installation. With proper surface prep, careful layout, and attention to grout joints, homeowners can achieve professional results in a weekend. Choose materials and finishes that match both the kitchen’s style and its daily wear patterns, and the backsplash will deliver years of low-maintenance service.