
A cordless Dyson vacuum that won’t charge turns a premium cleaning tool into expensive dead weight. Whether you’re seeing a flashing blue light, no lights at all, or the battery just won’t hold a charge like it used to, the problem is usually fixable without a service call. Most charging failures come down to a handful of common culprits: dirty contacts, degraded batteries, faulty cables, or simple software glitches. This guide walks through each diagnosis step by step, with practical fixes that take minutes, not days waiting on a repair center.
Table of Contents
ToggleKey Takeaways
- Most Dyson vacuum charging failures stem from dirty contacts, degraded batteries, faulty cables, or software glitches—all fixable within an hour using basic troubleshooting steps.
- Clean the charging contacts on both the vacuum and dock with a microfiber cloth and isopropyl alcohol, as dust and oxidation buildup prevents electrical connection and resolves about 20% of charging issues.
- Run a power-cycle reset by removing the battery, pressing the power trigger for 20 seconds, and performing a deep 3.5-hour charge to recalibrate the battery management system and clear software faults.
- Replace the Dyson battery if it’s over 2 years old, runtime has declined steadily, and contacts are clean with no physical damage—OEM replacements cost $80–$150 but third-party options require careful verification.
- Contact Dyson support or seek professional repair if the battery is under one year old, shows physical damage, or the vacuum won’t charge even with a new battery installed.
Common Reasons Why Your Dyson Vacuum Won’t Charge
Before diving into fixes, it helps to understand what’s typically breaking down. Dyson cordless vacuums rely on lithium-ion battery packs, a charging dock or cable, and internal circuitry that manages power flow. When any part of that chain fails, the unit stops charging.
Battery degradation is the most frequent issue after 2–3 years of regular use. Lithium-ion cells lose capacity over time, and eventually they won’t accept or hold a charge. If the vacuum runs for only a few minutes or won’t power on at all, suspect the battery first.
Dirty or corroded charging contacts rank second. Dust, pet hair, and grime accumulate on the metal pins where the vacuum connects to the dock. Even a thin film of debris can block electrical contact.
A faulty charging cable or dock comes next. Cables fray at the strain relief points, and dock connectors can crack or wear out. If the power supply itself is dead, no amount of troubleshooting the vacuum will help.
Flashing blue light on a Dyson vacuum usually signals a charging fault or temperature issue. The machine’s onboard diagnostics detect something wrong, often a battery that’s too hot, too cold, or failing to communicate with the charger. If the Dyson vacuum not charging blue light persists after cooling down, move through the diagnostic steps below.
Less common but still possible: internal fuse trips, software glitches, or a failed battery management system (BMS) chip. These require more advanced troubleshooting or professional repair.
Check the Power Source and Charging Cable
Start with the simplest check: confirm the outlet has power. Plug a phone charger or lamp into the same receptacle. If it’s dead, reset the breaker or try a different outlet.
Inspect the charging cable end to end. Look for kinks, cuts, or exposed wire near the plug and the dock connector. Flex the cable gently while it’s plugged in, if the dock LED flickers on and off, the cable has internal breaks. Dyson replacement chargers run $40–$60, and third-party options exist but verify compatibility by model (V7, V8, V10, V11, V15, etc.) before ordering.
Examine the charging dock itself. On wall-mounted docks, check that the mounting screws haven’t loosened, which can misalign the contacts. Handheld charging adapters should sit snugly: wobble indicates worn plastic or broken clips.
If you have a multimeter, set it to DC voltage and touch the probes to the dock’s output terminals while it’s plugged in. You should see roughly 26–30 volts depending on the model. No voltage means a dead charger or bad cable. Full voltage but still no charging points to the vacuum side of the equation.
Safety note: Always unplug the charger before handling contacts or attempting any cleaning beyond a dry wipe.
Inspect the Battery for Damage or Age
Dyson batteries typically deliver 500–1,000 charge cycles before capacity drops noticeably. Daily use for two years puts most users near that ceiling. If the vacuum ran progressively shorter over months, then stopped charging entirely, the battery has likely reached end-of-life.
Remove the battery pack. On most cordless Dysons, press the red release button near the handle and slide the pack out. Visually inspect for swelling, cracks, or leaking. A puffy battery case is a serious safety hazard, discontinue use immediately and dispose of it at a battery recycling center. Do not attempt to charge a damaged lithium-ion pack.
Check the manufacturing date sticker on the pack. Batteries degrade even when not in use: a four-year-old pack that sat in a warehouse may fail prematurely. Dyson OEM replacements cost $80–$150 depending on model and capacity (e.g., the V11’s higher-capacity battery is pricier than a V7 pack).
If the battery looks intact and is under three years old, reinsert it firmly and listen for the click. A loose connection can mimic a charging fault. Many home maintenance tasks involve similar elimination checks, secure every connection before assuming component failure.
When the Dyson vacuum not holding charge even after a full night plugged in, and runtime drops to under five minutes, replacement is the only fix. Third-party batteries exist at lower prices, but quality varies. Stick with Dyson OEM or reputable brands with UL certification and customer reviews mentioning your specific model.
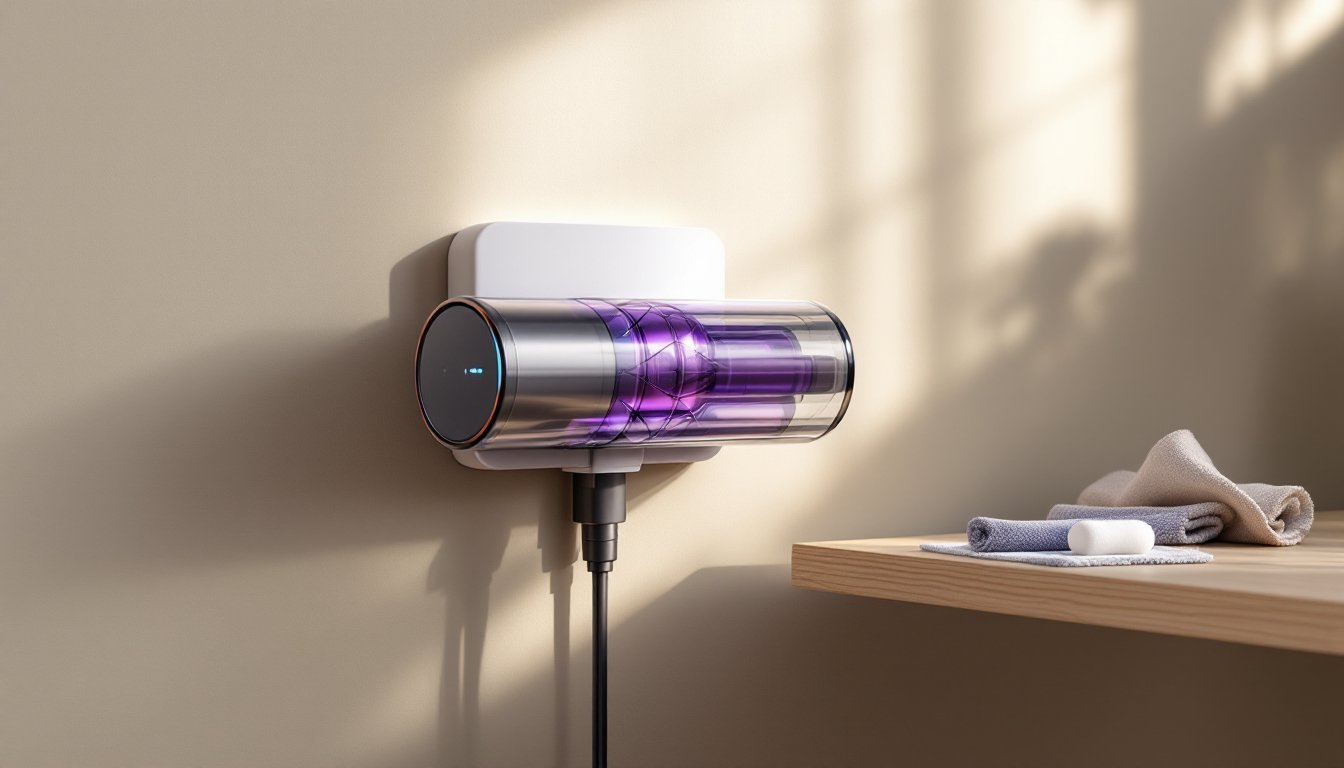
Clean the Charging Contacts and Connections
Dirty contacts are the easiest fix and the most overlooked. Over time, fine dust and oxidation build up on the metal charging pins, both on the vacuum body and inside the dock.
To clean the vacuum contacts: Remove the battery. Use a dry microfiber cloth to wipe the two or three metal pins on the vacuum’s connection point. For stubborn grime, dampen the cloth very slightly with isopropyl alcohol (90% or higher). Let it dry completely, 30 seconds is enough, before reinserting the battery.
To clean the dock contacts: Unplug the charger. Use a dry cotton swab or a small brush (an old toothbrush works) to clear debris from the dock’s metal terminals. If you see greenish corrosion, dip the swab in isopropyl alcohol and scrub gently. Avoid excessive moisture: you’re cleaning, not rinsing.
Reassemble and retry charging. This step alone solves about 20% of “won’t charge” complaints, per common Dyson vacuum issues reported by owners.
If the blue light flashes after cleaning but still won’t charge, or if you see a solid blue that never turns off, move to the reset procedure next.
Reset Your Dyson Vacuum to Fix Charging Issues
Dyson vacuums have no physical reset button, but a power-cycle procedure can clear software glitches in the battery management system.
Standard reset steps:
- Remove the battery from the vacuum.
- Press and hold the power trigger for 20 seconds. This discharges residual capacitance in the system.
- Plug the charger into the wall, but leave the battery out of the vacuum.
- Wait 30 seconds, then reinsert the battery into the vacuum.
- Place the vacuum on the charging dock or plug in the charging cable.
- Leave it charging for at least 3.5 hours uninterrupted, even if the light indicates it’s done sooner.
During this deep charge, the BMS recalibrates and may recover a battery that appeared dead. If the flashing blue light continues beyond 10 minutes, or if the unit still won’t power on after a full overnight charge, the battery or internal electronics are likely failing.
Some users report success with a “cold reset”: remove the battery, place it in a cool (not freezing) location for an hour, then follow the standard reset. Lithium-ion cells perform poorly when too hot: letting the pack cool can restore temporary function, though it’s often a sign the battery is nearing end-of-life.
If troubleshooting steps don’t resolve the flashing light or charging failure after two full cycles, replacement parts or professional service become necessary.
When to Replace Your Dyson Battery or Seek Professional Help
After working through cable checks, contact cleaning, and resets, a persistently dead vacuum points to hardware failure. Here’s when to pull the trigger on a new battery versus calling for repair.
Replace the battery if:
- The vacuum is 2+ years old and runtime has declined steadily.
- You’ve confirmed the charger and dock supply correct voltage.
- Contacts are clean and the reset procedure had no effect.
- The battery shows no physical damage (swelling, cracks, leaks).
Dyson sells OEM batteries direct and through authorized retailers. Installation takes under 60 seconds: remove the old pack, slide in the new one, charge fully before first use. Expect $80–$150 depending on model. Budget third-party packs start around $40 but check reviews carefully: cheap cells often die within months.
Seek professional repair or contact Dyson support if:
- The battery is under one year old and fails to charge (likely warranty coverage).
- You see physical damage to the battery or vacuum body (cracked housing, burn marks, melted plastic).
- The vacuum won’t charge even with a brand-new battery installed.
- The charging dock or internal connectors inside the vacuum are damaged or corroded beyond simple cleaning.
Dyson’s customer service can run remote diagnostics if the vacuum has connectivity features (V15 Detect and newer). Out-of-warranty repairs typically cost $100–$200 for internal electronics, sometimes more than a refurbished replacement unit.
Safety reminder: Never attempt to open the battery pack itself or bypass internal fuses. Lithium-ion cells can ignite if punctured or short-circuited. Always dispose of dead batteries at designated recycling centers, most big-box home improvement stores and electronics retailers offer free drop-off.
Conclusion
Most Dyson charging problems boil down to dirty contacts, degraded batteries, or faulty cables, all fixable in under an hour with basic tools. Work through the checklist methodically: verify power at the outlet, inspect and clean all contact points, rule out cable damage, and run a full reset cycle. If the vacuum still won’t charge or the blue light keeps flashing, a battery replacement is the next logical step for units over two years old. For newer machines or persistent issues after a new battery, reach out to Dyson support or a certified repair shop. With the right diagnosis, a non-charging Dyson rarely stays dead for long.